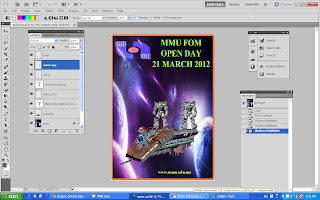
After i consult with madam, i intend to change all my images and redo it again. Here are all my new selected images and process of photoshop.
All this is using back the tools learned from tutorial 1 and 2 including quick selection tools, move tools, magic tools, marquee tools, and lasso tools as well.
 Now , i m using auto colour correction by clicking image> adjustment>shadows highlight to adjust the color until nice and good.
Next, i using adjustment colour balance and adjustment level layer to make my picture become more realistic.
Then, i replace the colour of the head of e-bee from red to yellow by using marquee tools select the part and through image>adjustment>Replace colour to process it.
Finally, i choose the TM logo to do advance layering:
marquee tools select TM logo n drag to the box
ctrl a and x
filter>Vanishing point...
In addition, to make my e-wallpaper more attractive, i choose binary code pic and adjust its opacity.
Thus, here is my finalize e-wallpaper for "MMU FOM OPEN DAY" I already try my best.


